DLSS in plain terms: why it exists at all
You’ve probably seen the choice: crank resolution to 1440p or 4K for sharpness, then watch your frame rate collapse the moment you enable ray tracing or walk into a busy scene. DLSS exists to ease that trade-off. Instead of asking your GPU to fully render every pixel at your display’s resolution, it renders fewer pixels and uses extra information the game already has (like motion and depth) to reconstruct a final image that aims to look close to native.
The practical goal is simple: make high resolutions and expensive effects feel playable on real hardware. The catch is also simple: reconstruction can sometimes produce quirks—softness, shimmer, or odd details—so it’s less “free performance” and more a tool you choose when the math makes sense for your GPU and target fps.
The core idea: rendering lower, rebuilding smarter
Picture the GPU doing its hardest work: shading pixels. At 4K, that’s about 8.3 million pixels per frame; at 1440p it’s about 3.7 million. DLSS leans on that gap. A “4K with DLSS Quality” setup typically has the game render something closer to a lower internal resolution, then upscale and sharpen it to your display output. You’re not getting extra detail for free—you’re spending fewer “real” pixels, then reconstructing the missing ones.
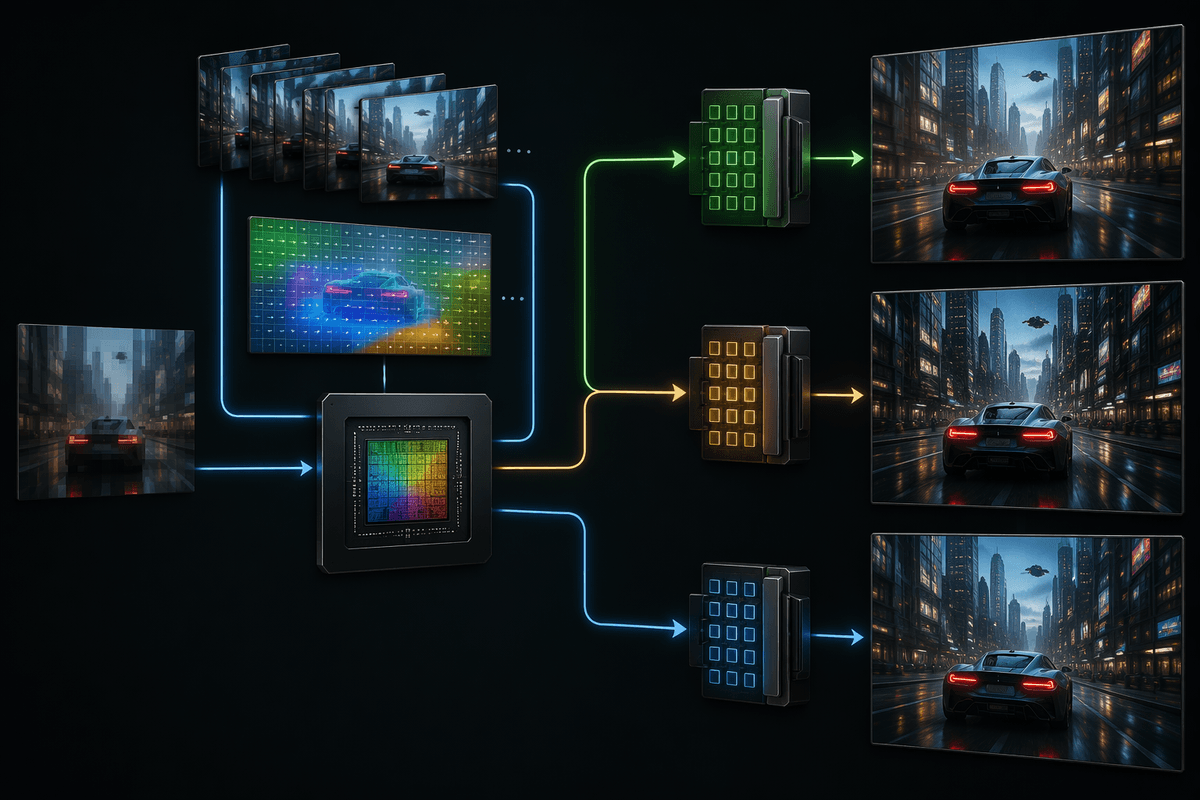
The “smarter” part is that DLSS isn’t guessing from a single frame like old-school upscalers. It uses multiple recent frames plus game data like motion vectors (where pixels are moving) and depth (what’s in front of what). That helps it hold onto edges and texture detail while objects move. The practical limit is that fast motion, fine patterns, and HUD elements can still expose the trick, and the reconstruction pass itself costs some GPU time.
Where the “deep learning” part actually fits
If you’re wondering what makes DLSS different from a “good upscale,” this is where the deep learning comes in. The reconstruction step is driven by a neural network NVIDIA trained ahead of time on lots of high-quality reference images. In a game, your RTX GPU isn’t training anything—it’s running that pre-trained model to turn the lower-resolution render plus motion/depth info into a higher-resolution image that usually keeps edges and texture detail more stable than simpler methods.
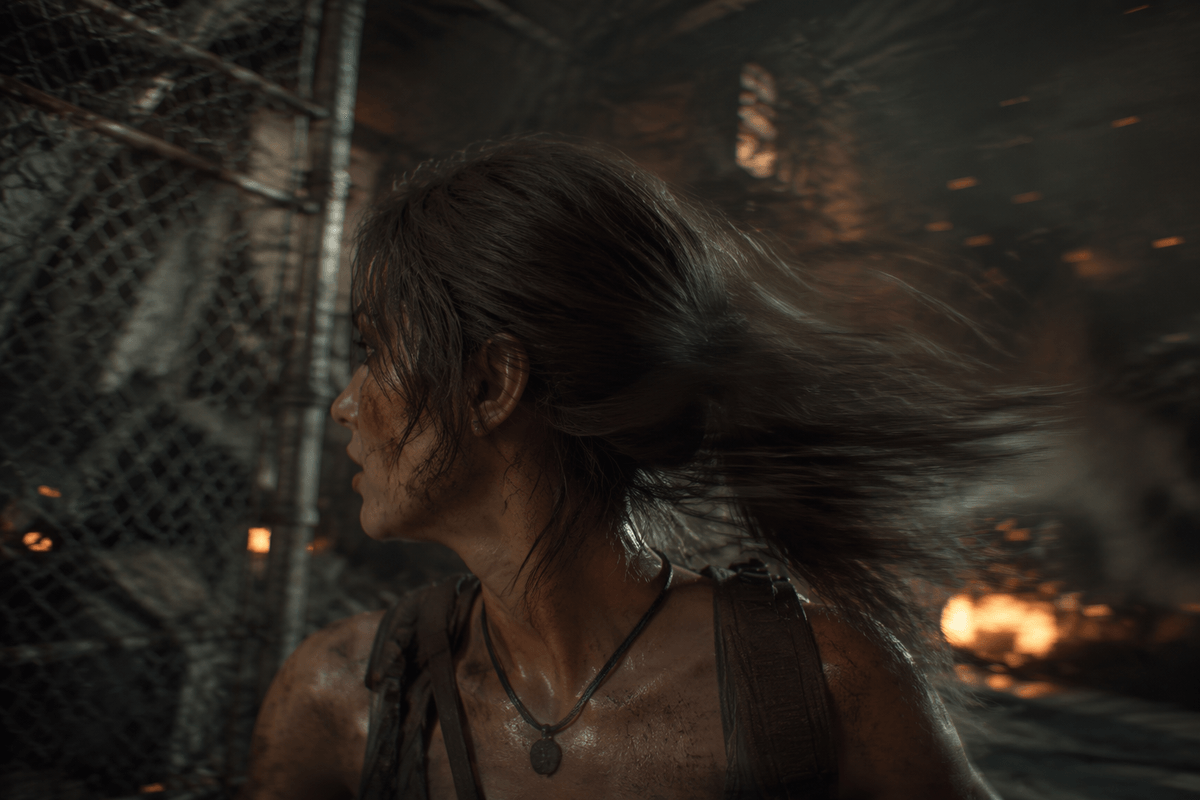
That “usually” matters. The network is still working with imperfect inputs: motion vectors can be wrong, transparency (hair, fences, particles) is messy, and fast camera pans reduce the useful history it can borrow from. Also, the AI pass isn’t free—it uses tensor cores and adds a bit of processing time, which is why DLSS can’t magically fix a completely GPU-bound scene at very high frame rates.
DLSS modes you see in games: Quality vs Performance
You’ll usually see DLSS offered as Quality, Balanced, Performance, and sometimes Ultra Performance. These are basically “how low should the game render internally before DLSS rebuilds it.” Quality keeps the internal resolution closer to your target output, so it tends to preserve fine texture detail and reduce shimmering on things like railings or foliage. Performance drops the internal resolution more aggressively, so you get a bigger fps bump, but it’s more likely to look a little softer, show reconstruction noise in motion, or make thin patterns crawl.
A simple rule: at 4K, Quality often looks surprisingly close to native while buying real headroom for ray tracing. At 1440p, Quality/Balanced is usually the sweet spot; Performance can start to look like “upscaled 1080p” depending on the game. At 1080p, DLSS Performance is often a last resort, because there just aren’t many pixels to work with, and sharpening can’t replace missing detail.
DLSS versions and add-ons: DLAA, Frame Generation, Ray Reconstruction
When a game just says “DLSS,” it usually means the upscaler/reconstruction part (commonly called DLSS Super Resolution). Two related toggles often sit nearby. DLAA is basically the same reconstruction tech, but without lowering the internal resolution—so you keep native sharpness and use it as high-end anti-aliasing. It can look cleaner than many built-in AA options, but it won’t rescue fps the way DLSS Quality/Performance can.
Frame Generation is different: it adds entirely new “in-between” frames to raise the displayed fps, most useful when you’re GPU-limited and already have a decent base frame rate. The trade-off is latency and artifacts. NVIDIA pairs it with Reflex to reduce input lag, but it still can’t make controls feel as responsive as rendering those frames normally, and fast HUD elements or chaotic motion can show odd warping.
Ray Reconstruction targets ray tracing specifically, replacing multiple older denoisers with a DLSS-driven pass. When it works, you can get steadier reflections and less “sparkly” noise, but it can mis-handle fine detail or moving transparencies, and it adds another processing step on top of the RT cost.
What DLSS is great at—and where it can look wrong
You tend to notice DLSS at its best in the exact situations that usually punish performance: high resolutions, ray tracing, and busy scenes with lots of fine edges. In DLSS Quality at 1440p or 4K, it can hold onto detail surprisingly well while smoothing jagged edges and reducing shimmer on railings, wires, and foliage compared to some cheaper upscalers. It also often makes motion look more stable than native with a weak TAA implementation, because the reconstruction has a better grip on where pixels are supposed to go frame-to-frame.
You tend to notice DLSS at its worst on “problem” content: thin transparency (hair, chain-link, particles), fast panning, and high-contrast UI or text that isn’t handled correctly by the game’s HUD pipeline. That’s where you can see ghosting trails, crawling patterns, or a slightly waxy softness that sharpening can’t truly fix. The practical constraint is that higher Performance modes have less real image data to rebuild from, and the reconstruction pass itself still costs GPU time, so the best-looking mode isn’t always the best-performing one.
How DLSS compares with FSR and XeSS in real decisions
You’ll often be choosing between three families: DLSS (NVIDIA), FSR (AMD, but open to many GPUs), and XeSS (Intel, also runs on other vendors). In practice, DLSS usually has the cleanest reconstruction when you’re using an RTX card, especially in motion and on fine edges like fences and foliage, because it can lean on RTX-specific hardware and well-tuned motion data. If you already own RTX, that alone makes DLSS the default “try this first” option.
FSR is the compatibility pick: it’s the option you can count on when a game doesn’t support DLSS, you’re on a non-RTX GPU, or you’re mixing hardware across PCs. The trade-off is that image stability can vary more by game, and aggressive modes can look harsher or more “sharpened.” XeSS often lands between them: it can look close to DLSS in good implementations, but support is less consistent, and performance/quality can shift depending on whether it’s using vendor-optimized paths. None of them fix a CPU bottleneck, and each adds some processing cost and potential artifacts.
A quick checklist for turning DLSS on (without overthinking)
You open a game, see “DLSS,” and just want the right switch. If you’re at 1440p or 4K and your GPU usage is high, start with DLSS Quality; move to Balanced/Performance only if you still can’t hit your target fps (especially with ray tracing on). If you’re stuck at 1080p, treat DLSS as a backup—Quality or DLAA often looks better than Performance there. If Frame Generation is available, use it when you already have a solid base (roughly 50–60+ fps) and add Reflex if offered. If you notice ghosting or UI weirdness, step one is trying a higher quality mode or turning it off.