What you get with Arlo: cameras, hubs, and subscriptions
Most people discover Arlo isn’t “one camera equals one system.” You’re choosing between battery cameras (faster to place, periodic charging) and wired options (more consistent, more install effort), then deciding whether you need a hub/base station. Some kits include one; it can improve local connectivity and enables certain storage options, but it also adds a device to power and tuck near your router.
The subscription decision is the real fork in the road. Without a plan, you may still get live view and basic alerts, but the features people expect—cloud video history, richer motion detection, and smarter notifications—can be limited or vary by model. Budget for the ongoing cost, not just the cameras.
Unboxing and setup: the first 30 minutes, step by step
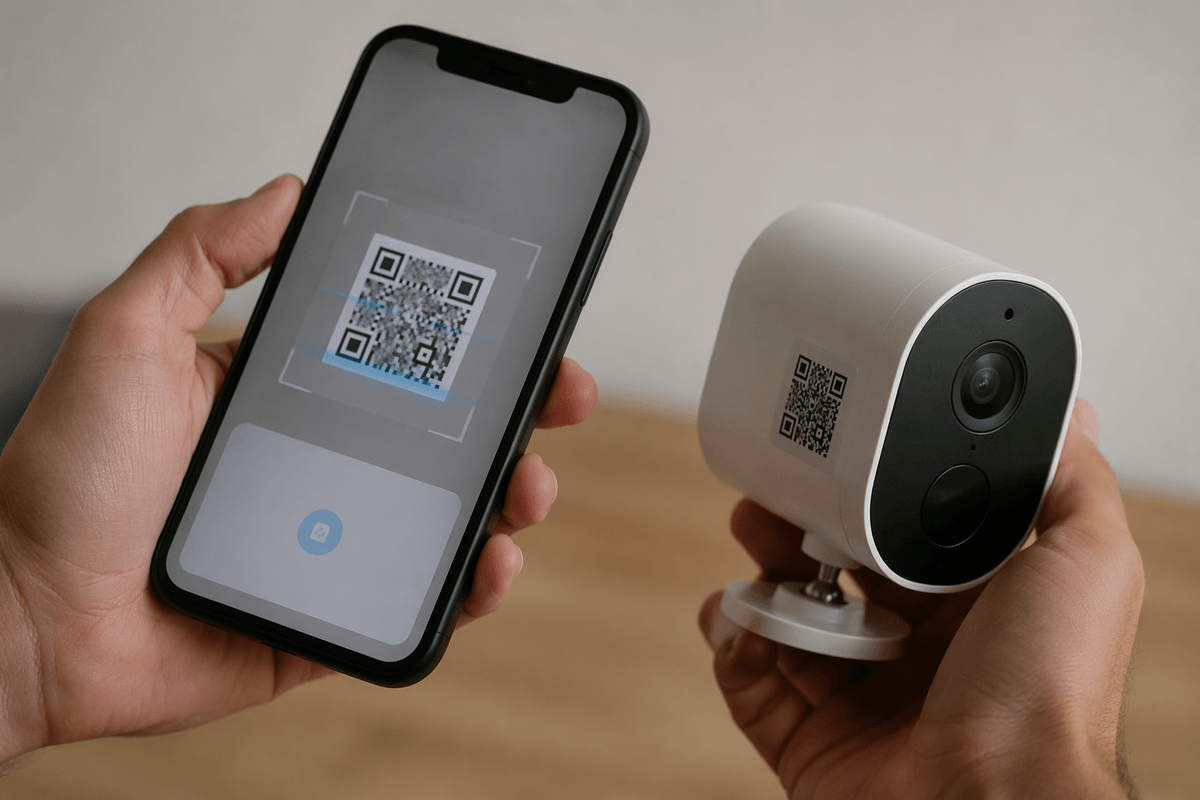
You open the box and the first decision is whether you’re pairing cameras directly to Wi‑Fi or setting up a base station. If you have the hub, plug it into your router and power, then wait for the LED to settle before you do anything in the app—most “setup issues” are just impatience here. While it boots, download the Arlo Secure app, create an account, and turn on Bluetooth and location permissions (pairing is smoother with both).
For battery cameras, charge them first if you can. A half charge is usually enough to finish setup, but starting at 100% helps you learn a real charging rhythm. In the app, add device, scan the QR code, and follow the prompts until you see a live view. Do the firmware update immediately; it can take several minutes per camera and it’s the main time sink in the first 30 minutes. If you’re adding multiple cameras, name them by location as you go—fixing “Camera 1/2/3” later gets annoying fast.
Placement decisions that make or break detection quality
You’ll feel the difference between “camera installed” and “camera actually useful” the first time you miss an alert. For most homes, the biggest win is aiming for side-to-side movement across the frame, not straight at the lens. A driveway camera that watches cars approach head-on often triggers late; the same camera angled to catch cross-traffic usually fires earlier and gives you more usable lead time.
Mounting height matters too. Around 7–9 feet is a practical starting point: high enough to reduce tampering, low enough to keep faces and package activity large in the frame. If you go higher, you often end up with more “person detected” notifications but fewer identifiable details. Keep the lens out of direct sun when possible; glare at sunrise/sunset can cause both washed-out video and inconsistent motion triggers.
Battery cameras have a placement tax: pushing them to the far edge of Wi‑Fi range can create delayed notifications and more retries, which also costs battery. If the spot you want is marginal, plan on either a base station, a closer access point, or accepting more frequent charging.
Video, audio, night vision: what the footage looks like in practice
You notice video quality most when you try to answer a simple question: “Can I clearly see what happened without scrubbing for five minutes?” In good daylight, Arlo footage is typically sharp enough to read basic details like clothing colors and package placement, but fine text (a license plate at the curb, a logo at distance) is still hit-or-miss and depends heavily on how close you mounted the camera and whether you’re using a wide angle view. Audio is good for context—voices, a door knock, a dog barking—but it’s not “interview clean,” and wind can overpower everything if the mic is exposed.
Night vision is where trade-offs show up. Infrared helps you see motion and general shapes reliably, but faces can turn into bright, flat masks at close range, and reflective surfaces (cars, white walls) can blow out highlights. A porch light or driveway floodlight often produces more usable identification than pure IR, but it can also attract bugs, which means more moving specks in your clips.
Motion alerts you can trust: zones, sensitivity, and AI detection
The first week with Arlo is usually a tug-of-war between missing real activity and getting spammed by trees, shadows, and passing cars. Start by lowering sensitivity until your “false” alerts drop, then raise it back in small steps while you do a few real walk-throughs (walk across the frame, approach the door, pick up a package). Motion zones help most when you have a busy background—trim out the street and keep the zone tight around the walkway and porch, even if it feels like you’re “wasting” the wide view.
AI detection is the difference between “motion happened” and “a person is here,” but it’s not magic. A person at the edge of the frame, backlit at sunrise, or partially blocked by a railing can still come through as generic motion. Expect some tuning per camera, and remember there’s a practical cost: smarter alerts and longer clip history often push you toward the subscription, and higher sensitivity typically means more recordings, more notifications, and more battery burn.
Battery life, charging rhythm, and cold-weather realities
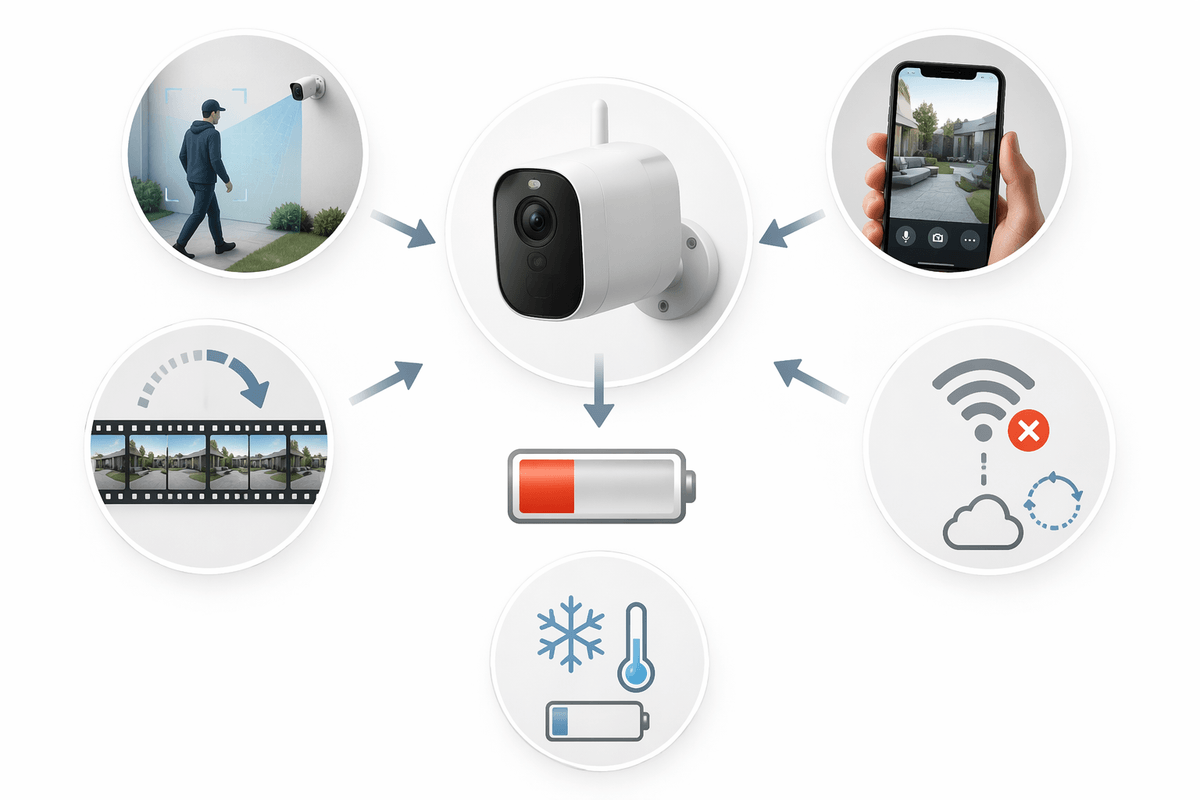
Battery life with Arlo is less about the spec on the box and more about how often the camera wakes up. A quiet side gate might go weeks without attention, while a front door facing a sidewalk can chew through a charge fast because every clip is a wake-up, record, and upload cycle. If you use higher sensitivity, longer clip length, or lots of live view, plan on charging more often. A practical rhythm is to top off cameras before they hit the “low battery” warning, so you’re not juggling multiple dead views at once.
Cold weather is the reality check. Batteries deliver less usable capacity when it’s freezing, and cameras can also get conservative about power when temperatures drop. In winter, the same placement that felt “set and forget” in fall can turn into a regular ladder-and-charger routine, especially if your Wi‑Fi signal is weak and the camera retries uploads. If you can run power to your busiest camera, it’s usually the one upgrade that reduces daily management the most.
Smart home fit and privacy: who can see what, and when
You’ll notice the “smart home” side of Arlo when you try to make it routine: arm automatically when you leave, disarm when you get home, and avoid waking the house with alerts at night. That usually means tying modes/schedules to your phone’s location or a voice assistant, which is convenient but also a privacy trade—someone with access to your Arlo account (or a shared login) can see device status, cameras, and recordings. Use separate user invites, not one password, and enable two-factor authentication.
Privacy gets real inside the home. If you use indoor cameras, set rules for when they’re allowed to record, and test them on a normal day—not just “vacation mode.” The practical downside: more automation and more users also means more settings to maintain, and one sloppy permission can turn “shared access” into “shared visibility.”
Is Arlo the right system for your home right now?
If you want strong video, flexible placement, and you don’t mind tuning alerts and managing charging, Arlo can fit well—especially when your busiest areas aren’t right at the edge of your Wi‑Fi range. It’s a tougher sell if you want “buy once and forget it,” because the best notification experience usually assumes an ongoing subscription and some upfront time dialing in zones and sensitivity.
Arlo makes the most sense when you value battery-first installs and app-driven control more than doorbell-first workflows. If you’re comparing, Ring tends to feel more straightforward for doorbell-centric homes, Nest is often smoother if you’re already deep in Google’s ecosystem, and Eufy can be appealing if you’re prioritizing local storage—but you’ll trade something somewhere, usually AI quality, app polish, or long-term support.