What you need before you plug anything in
Most connection problems start before the cable ever touches the port. Use a known-good Apple 30‑pin or Lightning cable (avoid “charge-only” knockoffs), and plug it directly into a USB port on the PC—not a keyboard, monitor, or flaky hub. If your iPod has a low battery, let it charge for 10–15 minutes first so it can fully “handshake” with Windows.
On the PC side, make sure you can log in with permission to install drivers, and close any phone-sync tools that might grab the USB connection. If you plan to use iTunes, install the latest iTunes for Windows from Apple and restart once; that reboot is a real cost in time, but it prevents the most common driver and service issues.
Choosing the right cable, port, and power setup
The simplest setup is still best: an official Apple cable (or an MFi-certified replacement) into a full-size USB port on the PC. If you have a desktop, use a rear USB port because it’s usually wired more directly to the motherboard and delivers steadier power than front-panel ports. On a laptop, avoid low-power ports on docks and cheap USB-C adapters; if you must use USB-C, use a reputable USB-C to USB-A adapter or a powered hub so the iPod doesn’t disconnect mid-sync.
Watch for the power clue: if the iPod charges but never shows a “Do you trust this computer?” prompt (newer iPod touch) or never appears in iTunes/Explorer, the cable may be charge-capable but data-flaky. Also keep the iPod awake—some models won’t complete the first connection if they’re in deep sleep or nearly empty.
When iTunes is required—and when it isn’t
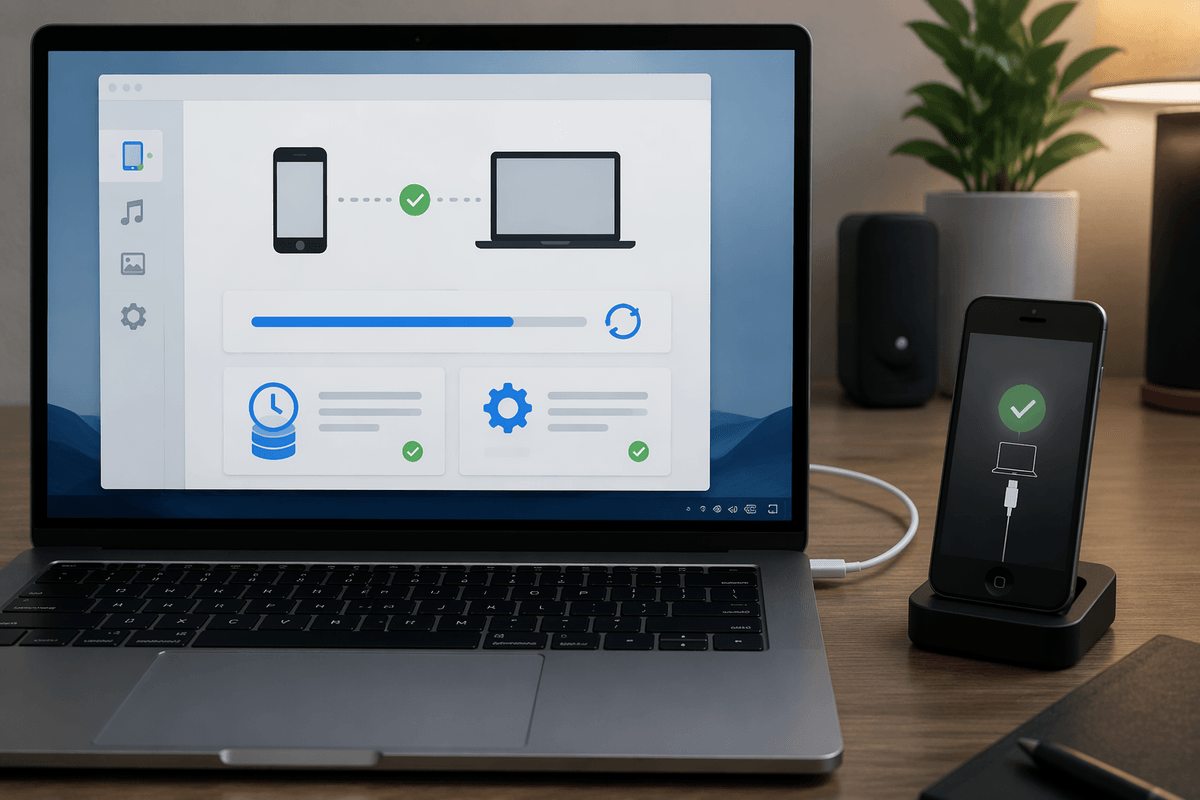
The big question is whether your iPod is meant to be managed by iTunes or just treated like storage. iPod touch models (and iPhones/iPads) are designed around iTunes for music syncing, backups, and updates; you can plug in without iTunes, but for most “real” management tasks you’ll want it installed so Windows gets the Apple Mobile Device drivers and the device appears reliably. The same is true if you’re restoring, updating iOS, or moving a large music library the “official” way.
Many classic iPods (Classic, Nano, Shuffle) also expect iTunes for music, playlists, and syncing settings, even though Windows might still detect them as a USB device. Where iTunes often isn’t required is photo import: Windows Photos (or File Explorer) can usually pull camera-roll style photos from an iPod touch, and some iPods can expose a DCIM folder. Just remember the trade-off—manual copying can be one-way, and disconnecting mid-transfer can corrupt files or force a restore.
Connecting step-by-step: first plug-in to first successful sync
With the iPod unlocked and awake, plug the USB end into the PC first, then connect the iPod. Give Windows a full minute the first time—driver setup can be slow—and don’t swap ports while it’s “installing device.” On an iPod touch, tap Trust if prompted and enter the passcode; if you miss the prompt, unplug, relock/unlock, and reconnect.
Open iTunes and look for the small device icon near the top-left. Click it, then choose Summary and confirm the iPod name, capacity, and software version show up; if they do, you’re past the hardest part. For a first sync, start simple: pick Music, check “Sync Music,” select a small playlist, and click Apply/Sync so you can confirm the connection is stable before pushing your whole library. Stay on the same port and don’t let the PC sleep—one sleep event can interrupt the first sync and force you to start over.
Getting photos, music, and files onto the PC safely
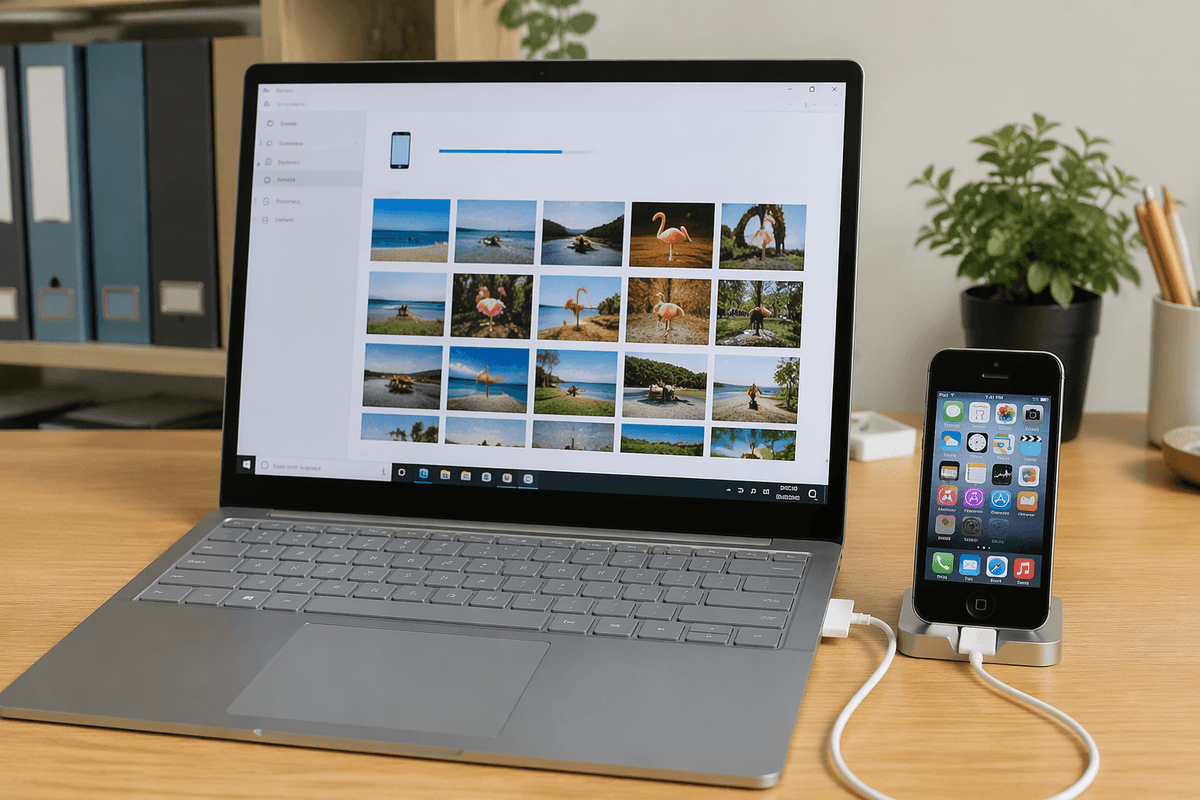
You’ll usually handle photos differently than music, and that’s a good thing. For photos from an iPod touch, unlock it, keep it on the Home screen, then open the Windows Photos app (or File Explorer) and use Import so Windows copies and dates things cleanly. If you only see a few photos, that’s often because iCloud Photo Library is enabled—those originals may not be stored on the device, so you’ll need to download them from iCloud on the PC instead.
For music, use iTunes as the safe, supported path: sync from the PC to the iPod, not the other way around. Pulling songs off an iPod to “recover” a library is where people get burned—Windows can show hidden files, but filenames are scrambled, artwork can be lost, and you can waste hours sorting duplicates. If you’re backing up important files on an iPod that supports Disk Use, enable it in iTunes first, then copy to a clearly named folder on the PC and only eject after transfers finish; unplugging early is the quickest way to corrupt a drive.
If your PC doesn’t recognize the iPod: fast fixes
You plug it in, it charges, and then… nothing shows up in iTunes or File Explorer. Start with the fastest isolation test: try a different USB port (preferably a rear desktop port), then a different cable, and reboot both the PC and the iPod. On an iPod touch, unlock it and look for the Trust prompt; if you don’t see it, unplug, relock/unlock, and reconnect with the screen on.
If iTunes still doesn’t see it, check the Windows side. Open Device Manager and look under Portable Devices or Universal Serial Bus controllers for an Apple/iPod entry with a warning icon; right-click and uninstall it, then reconnect so Windows reinstalls the driver. Also open Services and make sure “Apple Mobile Device Service” is running (restart it if it’s stuck). These steps cost a few minutes, but they’re quicker than reinstalling iTunes—and they fix most “charges but won’t connect” cases.
Keeping future connections effortless
The easiest way to make every future plug-in boring is to keep one “known-good” setup. Pick one reliable cable, label it, and use the same USB port each time so Windows doesn’t keep creating new driver entries. In iTunes, set the iPod to “Sync only checked songs” (or a small set of playlists) so a surprise full sync can’t wipe your time or storage. On Windows, turn off USB selective suspend if you get random disconnects, and prevent sleep during long transfers.
Build a quick habit: unlock the iPod, connect, confirm it appears, then start your import/sync. When you’re done, use Eject in iTunes (or “Safely Remove Hardware” for disk-mode iPods) before unplugging—skipping that is how you end up with a corrupted device and an hour-long restore.